 I’ve recently had to do a lot of research for a close friend to help pinpoint what foods promote overall brain health. Specifically, I’ve been searching for foods which prevent, slow or even reverse the progress of dementia and Alzheimer’s.
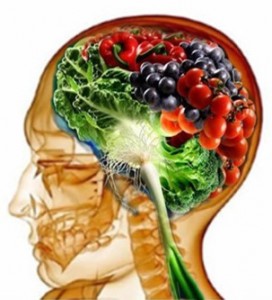
Of the “brain-healthy” foods that experts have agreed upon, there is a common characteristic: each food is typically either high in omega-3 fatty acids, choline, flavanoids or other powerful antioxidants which help reduce inflammation. Each of these characteristics support brain health as well as having many other health benefits.
Systemic inflammation is very bad for your health and is believed to be one of the leading causes of Alzheimer’s. We should generally make food choices which, on balance, promote an anti-inflammatory response.
After scouring the Internet and my favorite food book, below is my compiled list of foods that are believed to have the greatest brain benefit. If there is a page numbers in parenthesis next to the food, it is a reference to the page in “The 150 Healthiest Foods on Earth”, a book which I frequently reference when assessing the quality of a particular food.
At the end of this post is a fold-up, credit-card sized image which I made and which can be printed and carried as a reference.
Continue reading »
 Last year I stumbled across this post about a one line browser notepad.
 I recently downloaded a huge PDF and wanted to copy and paste a couple sentences of text from it to email to a friend.


 MyÂ
My 


Recent Comments